Saturday, October 20, 2012

Tesla and little bird

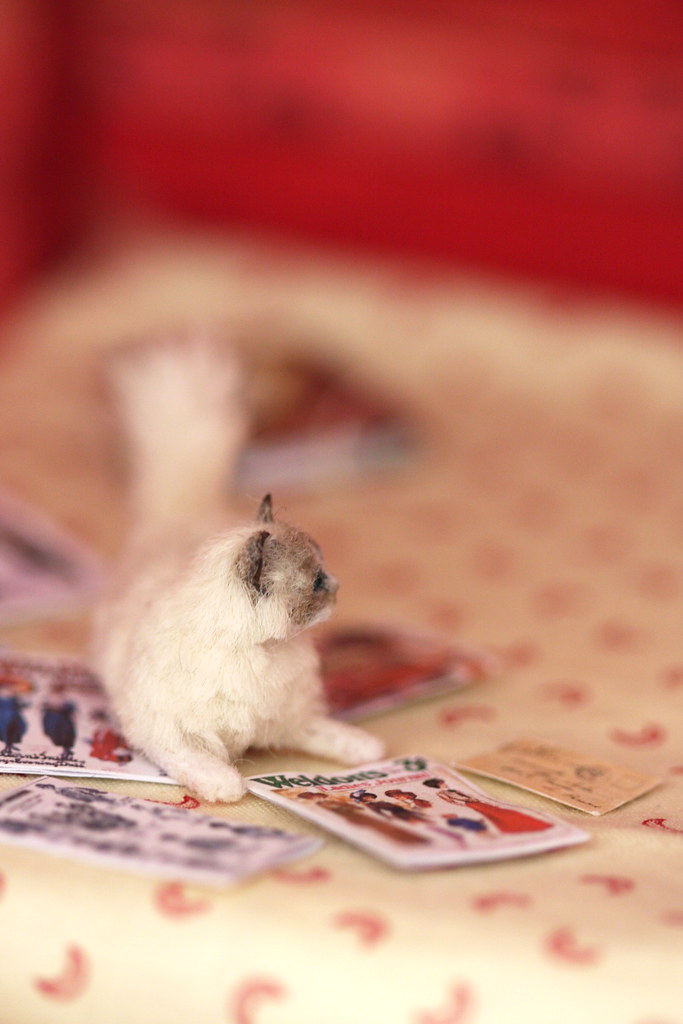
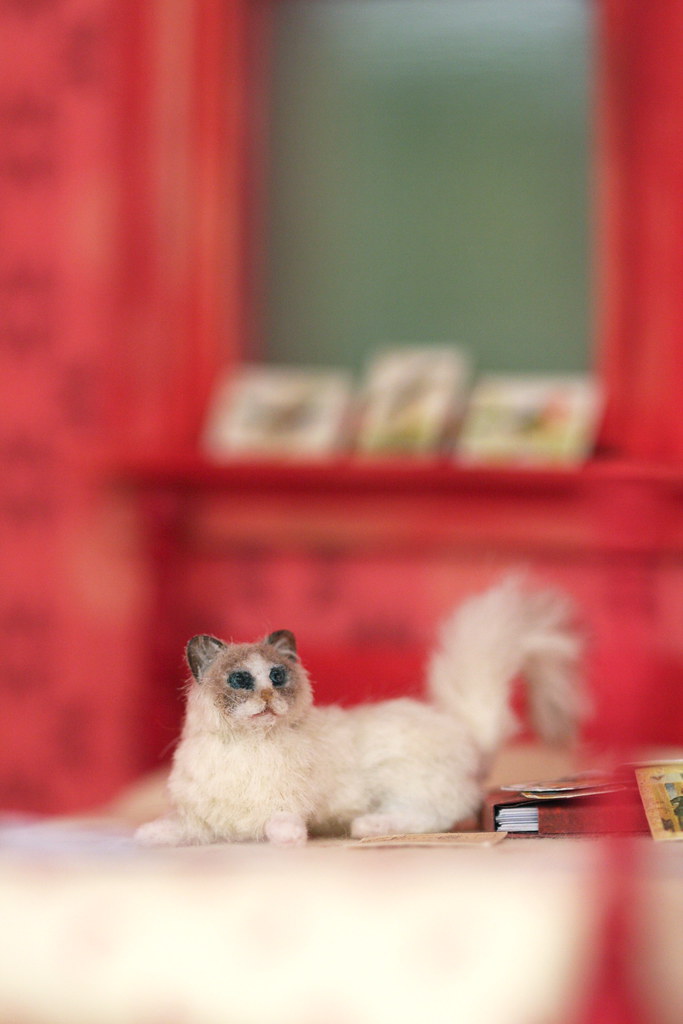
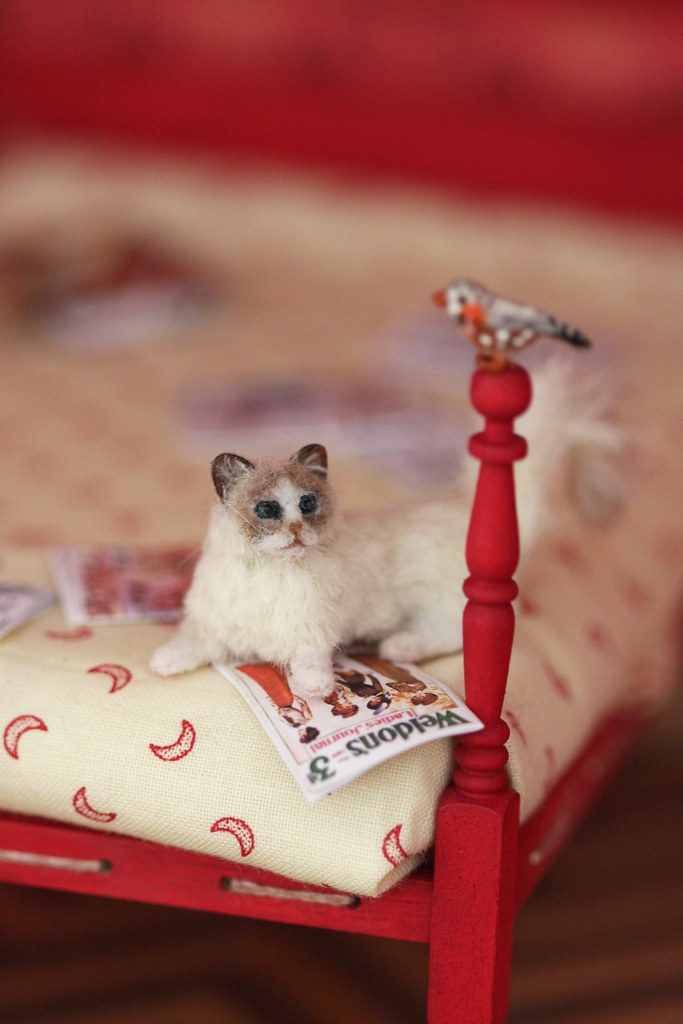
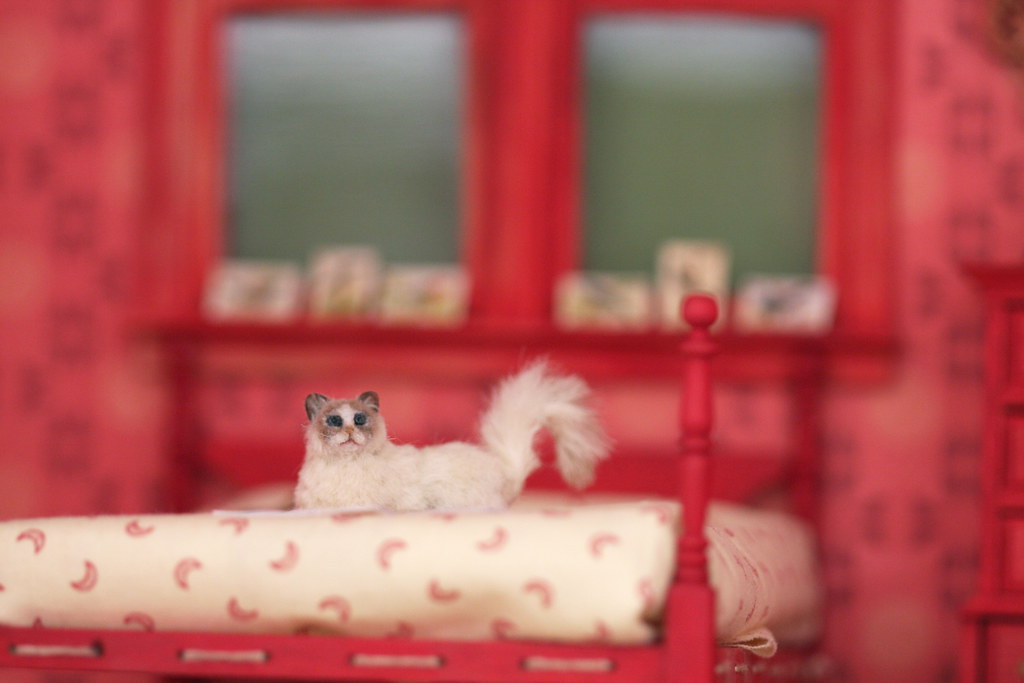
As promised, here is a little photoshoot of kitty Tesla.
She is a wonderful creation of adorable artist *reve*, I've discovered thanks to Brae's blog, her amazing Ophelia and her other fantastic mini pets.
I adore my little cat, she is really marvelous.
I must confess, I have very slightly touched up Tesla's eyes, so if you don't find her completely consistent with *reve*'s style, this is the reason.
The little bird is still nameless but I'm in complete love with him. He is a Zebra Finch by Malinik Miniatures. I find my own little one even more beautiful than the one of the listing, and Ina is sending pictures before shipping (plus is super-duper quick and very kind :) ).
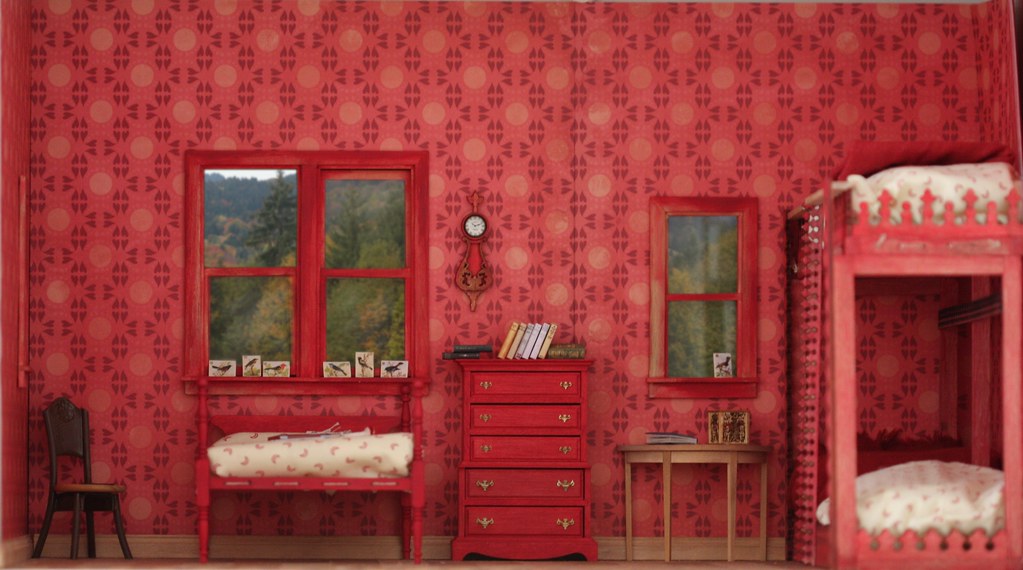
Tesla normally comes with a beautiful little parrot I've still to take pictures of, but I prefer her paired with the Zebra Finch in order to fit in the red room :).
Magazines are by Tyne759 on ebay, and postcards by Cockerina on Etsy.


Thursday, October 18, 2012

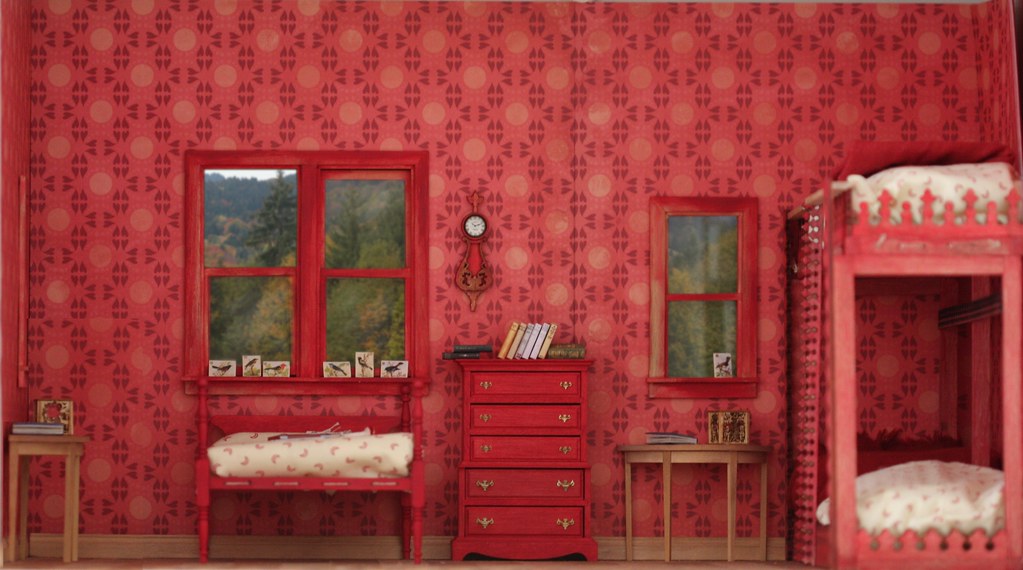
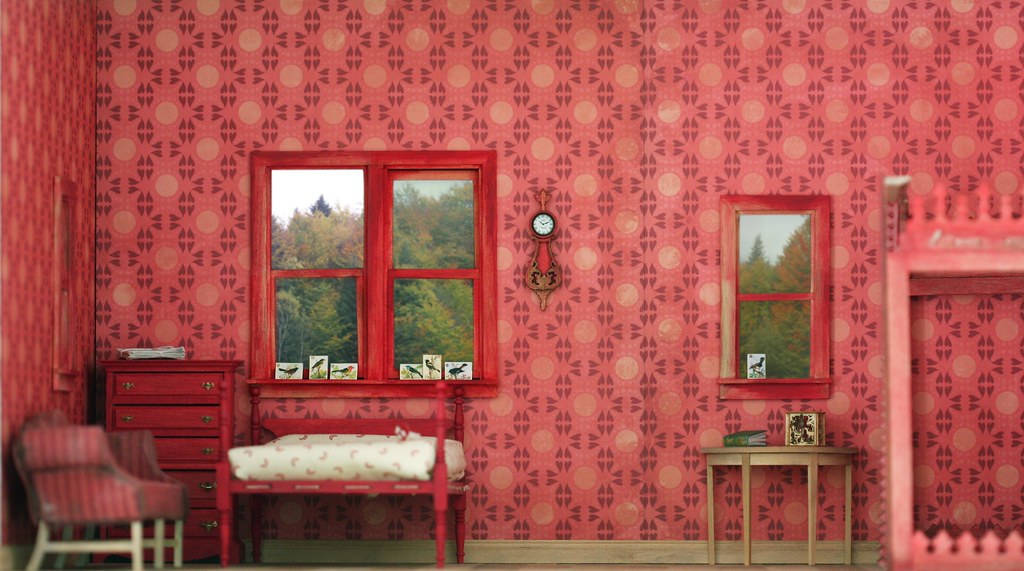
Red room : moving the furniture

The walls are getting a little undone there (middle seam more visible, left corner off and paper falling on the right, oh my...) but it won't stay like this, of course (books are falling too, oh and fabric is just put on to simulate the beddings). I think the bunk bed is not in its place here, there should be more space between it and the window, everything was falling apart as the right wall had come undone when I put the fabric wrapping, which was too big for the bed, well, you get the idea ^^... I can't glue things right now, I may have to move home at any time so the diorama have to stay easy to carry around :) )(but yes, it's frustrating to have things falling apart all the time and quite uneasy to put back straight and square).
The chair is not the definitive one. It's a Bodo Hennig metal chair (a little aged) to go with the sewing machine in the submarine room.
A lovely upholstered bigger one would be nice maybe ? Now, with the (simulation) beddings on, I wonder (real question, I have no idea here) if that would not make too much fabric, it may on the contrary balance very well the beddings. A wooden chair maybe ? I've to go hunt for chairs :).

I've tried a photomanip replicating the little table, just to have something more in the colourway. It's a little too small here, I suppose, but I like the light wood being more present, as everything is very red and makes the whole thing quite dark.
The more I look at the picture, the more I'm getting used to it and loose size and spacing concerns. It needs something bigger, right ? I'll go hunting for fancy little kits that might work too :), just in case, the chair being still the first option :).
Thanks so much, Brae, things are getting a lot better ! (I think :) )

Wednesday, October 17, 2012

Agence Eureka

If you don't know Agence Eureka, be sure to check it soon !
Here is 
the blog, the Flickr.
See especially the "paper craft" album, there are hundreds of vintage paper projects that would look perfect in miniature :).
I will print as soon as possible these two for the submarine room (sewing area will be northpole themed) :
famjournal014 by pilllpat (agence eureka)
famjournal014, a photo by pilllpat (agence eureka) on Flickr.
ours by pilllpat (agence eureka)
ours, a photo by pilllpat (agence eureka) on Flickr.


I wonder how small can be made this kind of little cars :

001 by pilllpat (agence eureka)
001, a photo by pilllpat (agence eureka) on Flickr.

And I'll definitely try one of the paper theatres in mini scale some day :).

theatrealibaba p0 by pilllpat (agence eureka)
theatrealibaba p0, a photo by pilllpat (agence eureka) on Flickr.

Maybe beginning by a simpler one like this :
petits theatres 2 by pilllpat (agence eureka)
 petits theatres 2, a photo by pilllpat (agence eureka) on Flickr.
The little girls will sure have plenty paper dolls
petit costumier  by pilllpat (agence eureka)
petit costumier , a photo by pilllpat (agence eureka) on Flickr.
and games
jeu 4 sports by pilllpat (agence eureka)
jeu 4 sports, a photo by pilllpat (agence eureka) on Flickr.
 I have tons of favorites kept heartwarmly in my Flickr account and projects for them, these are just a very few random examples :). Be careful, checking these is super time consuming :D.

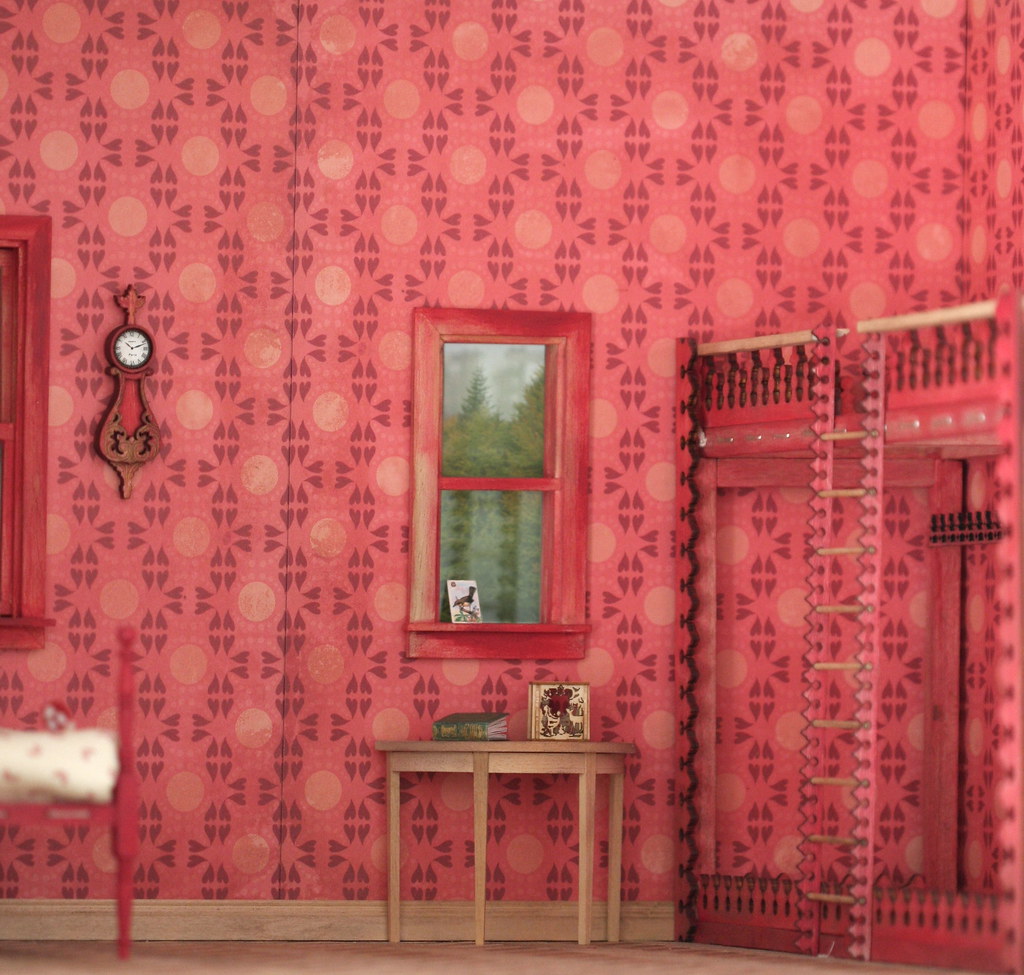
Red room with new windows

The small windows are finally set in the bedroom. I like them :).
What bothers me is the visible seam in the wallpaper, I have no idea how to make this less obvious. Talking about the walls, the corner of the left of the picture is not put properly for the moment, the cardboard sheets are still completely free one from each other (including the two front ones, the wallpaper seam itself is even hold in place with tacky paste on the upper part of the wall)(don't ask to see the surrounding of the room, it's a total mess :D).
In fact, the right side paper is above the left side one, as you may be able to see here, which doesn't help the seam not being obvious, I guess, but I suppose that even flush, it would be noticeable anyway.

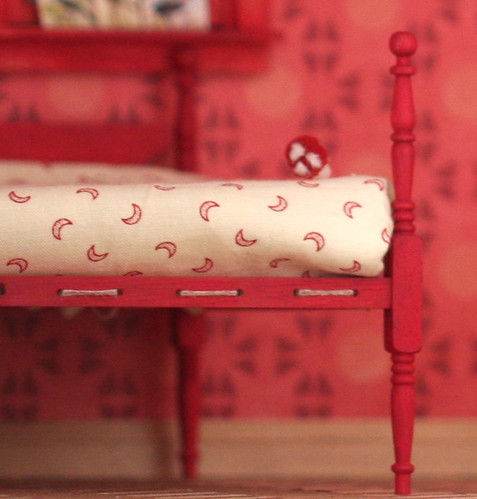
I've put some fabric on the mattress of the main bed for a test and I think I might go with this for mattress sheets and pillows (I'll make more elaborate upper bedding, maybe mini patchwork quilts real or false ^^).

I was looking for something that would be coherent in style with the wallpaper. I hope it is.

I wonder a lot about the furnishing of the room :
I'm thinking of getting rid of the sofa. It's a fail in itself (can show you in another post, I'll have to make some kind of a kit review I think) and it makes the left part of the room very crowded. I don't know what to put instead though. I have to find something between the main bed and the little table too, or to reduce the wall between the two windows (yes, it's possible ^^, I've already taken off something like one inch before putting the walls back)(not that I wanted to but the room with the window's added depht couldn't fit in the closet any more :D). It would make the room smaller though, which I don't wish that much as I would like this room to give a feeling of space.
The big drawer shelf could move too (even to another room).
I like the overall look of the room but I must confess that the further I go, the less harmonious it seems to me. The fact that I've begun with a square wall with a window and extended from it does not help making things coherent, must I admit, but I'll have to do with it :).

................................

I've made the windows photomanip too quickly and the glass looks green here. Well, it's only a wip view, so that will do I guess :). Here is the picture before the manip :
I really don't like to show those unedited pictures as the paper next to the window gives a suffocating feeling to me. The room is in a closet so I don't have any depht which make it difficult to set properly any print (I'll make it a try whan I can have access the the printer though), but I like playing with Gimp so it's a problem I can solve this way :).

Tuesday, October 16, 2012

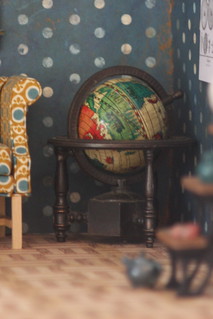
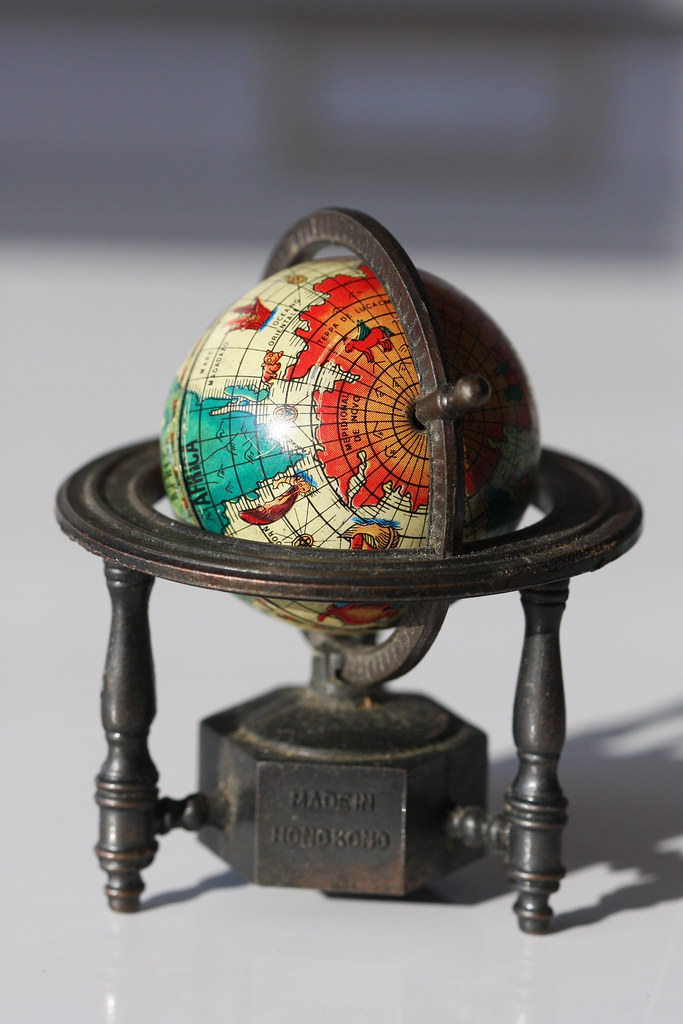
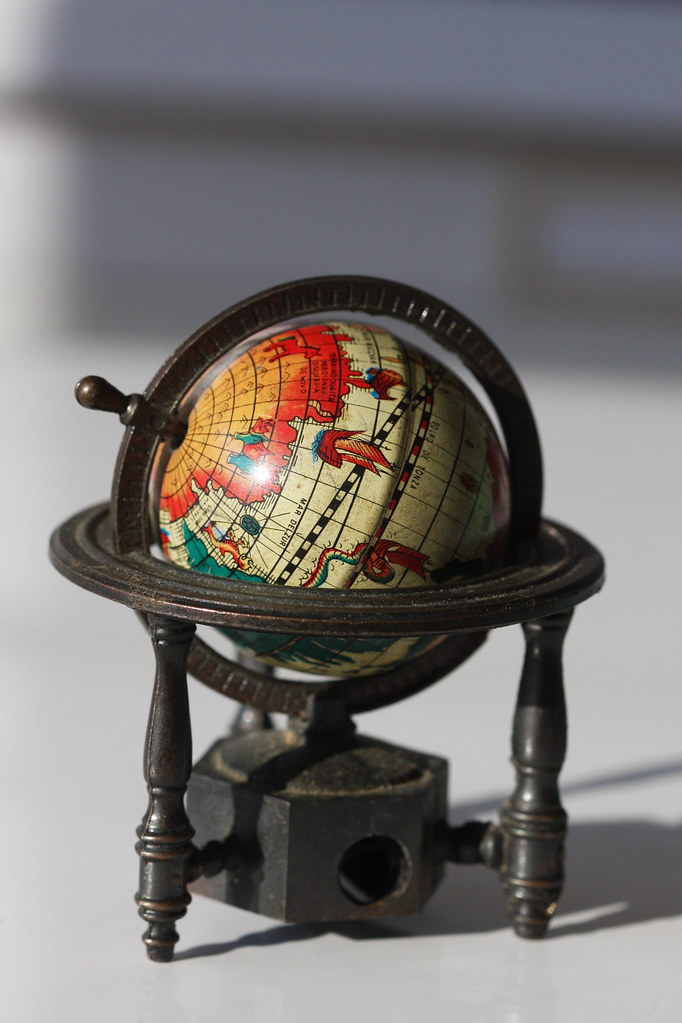
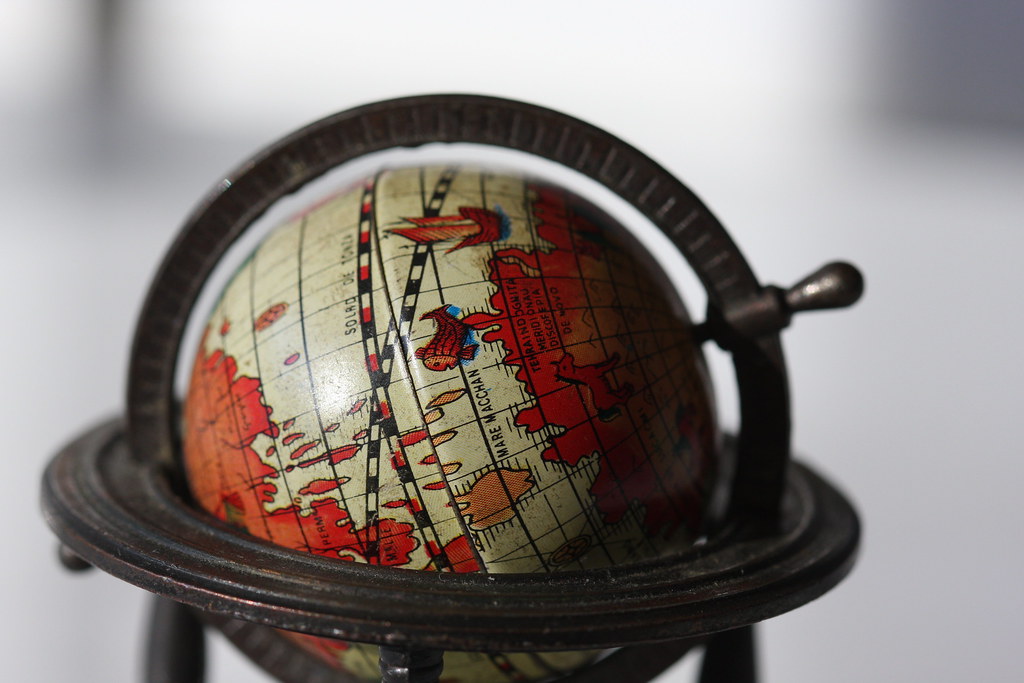
Antic world globe

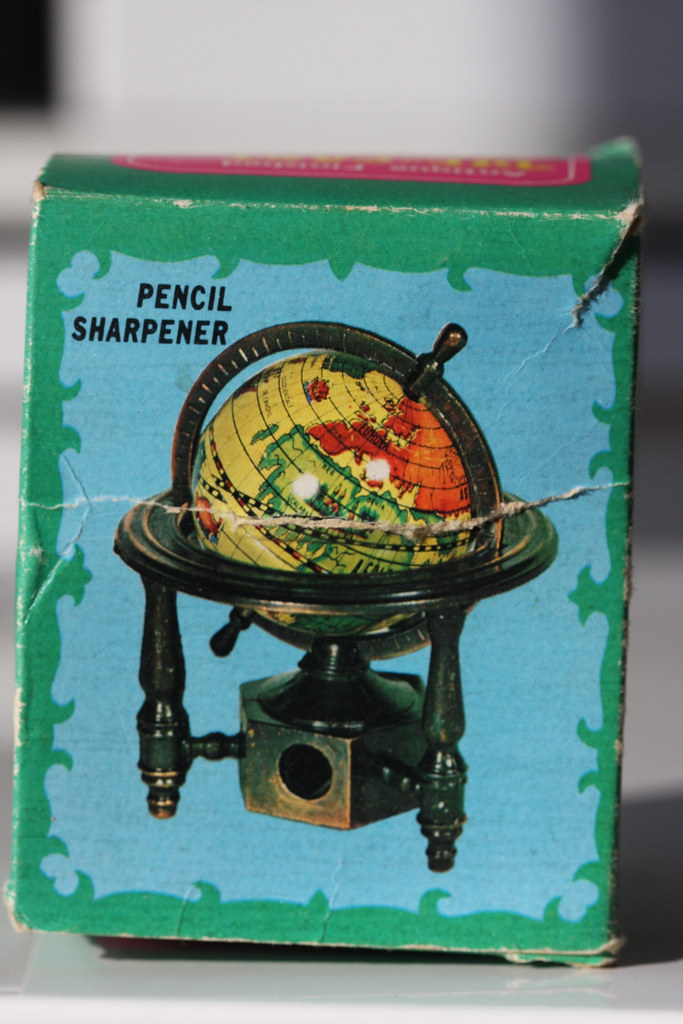
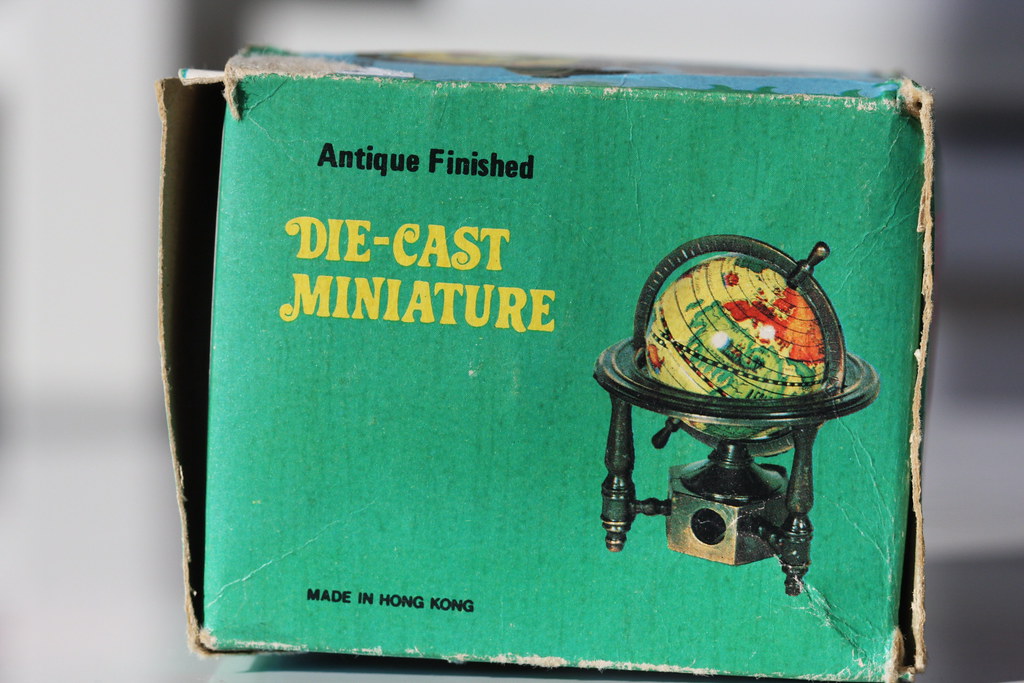
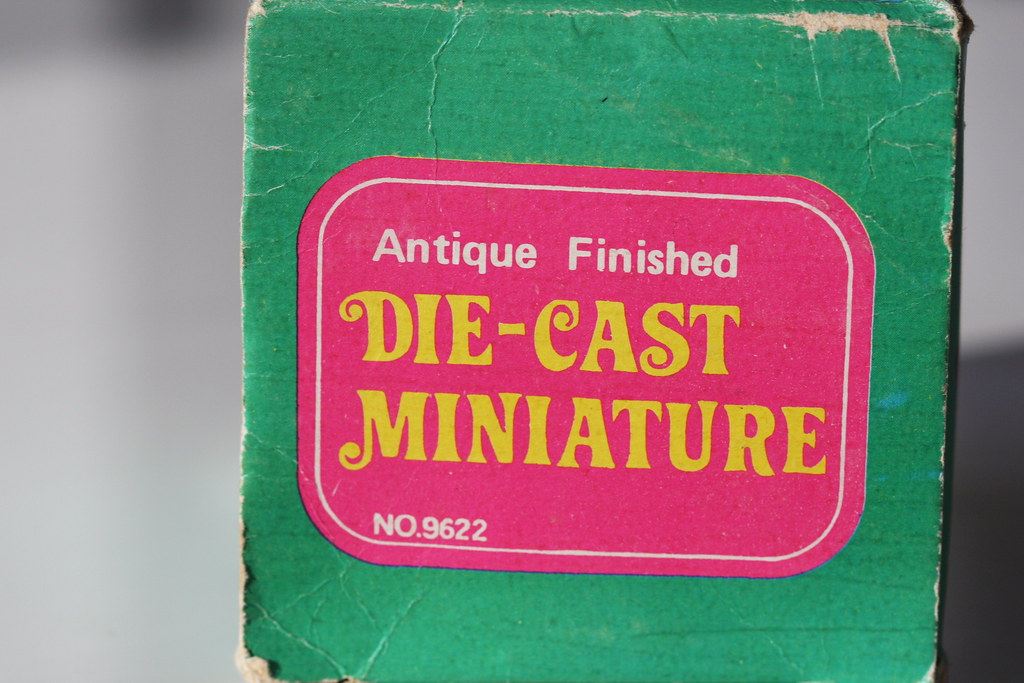
As this is quite an important center piece for me, I was prepared either paying a big lot of cubits (gils ? money ?) for a convincing antic looking world globe, either spending an awful amount of time trying to make one. And I found this one on ebay, for a steal, and I really think it's perfect :). Ok, yes, well, this is a pencil sharpener, but what a pencil sharpener ! ^^ Very good aged metal treatment. The globe itself is made of a two parts metal sphere, the aligment is not perfect but I guess that if I'm not too chicken, I may be able to make it better, gently moving one part. And the globe spins round of course :).
There seems to be several colours finition available for the map, I've seen one more pink and teal but that may have been just a matter of bad pictures.


Sunday, October 14, 2012

The second clock :)

So here is  Cynthia Howe miniatures banjo style wall clock kit.
I just adore this one ! I didn't make any alteration here beside the colors.
The little side parts are left untouched in their perfect bare laser-cut wood glory and they kinda look old gold color, or maybe a little rusty, I love it :).
The other wooden parts are very gently touched with a wash of a mix of Prince August blue and green (got a starter set of colours ages ago, I'm used to Vallejo/Prince August and Games Workshop paints, yes well white metal mini figures to paint, Warhammer and all, any one ? ^^) so that laser-cut carving still shows a little in wood colour. The bottom part has received a little brown and white chalk in addition. Oh yes and there are very slight highlights in white chalk pretty much everywhere too (I just put chalk on my finger and rub it slightly over where I wish when paint is dried. It's easier for me than dry brushing paint and I can remove it if I don't like it or am too bold. As I tend to mess up things easily, it's a better way for me not to ruin the work with little finitions :D).
The graphics are the one provided with the kit. I wasn't sure if I would use them at the beginning as they are kinda pixellized (not the good word I mean here : little points from the printer showing) and the colours didn't match the teal wood that well. As there were two prints of each image, knowing I had spare parts if problems were to occur and that I wasn't that enthusiastic about them anyway, I soaked the pieces of paper in varnish ("Nasenglanz für Teddybären", one has to do with her own tools I guess :D :D) and tadaaaa after drying, colours are a little faded, blended, aged, no more pixel showing and all the pinkish-reddish colour has gotten in the verso of my paper (yes, I don't know why) resulting in colorings that match perfectly my clock ! Plus, the varnish being very thick, it really doesn't look like paper any more. Hooray for Nasenglanz ! :)

A little clock a (very) foggy day


It's foggy today and autumn is really showing :). Little clock is a fantastic little laser-cut kit by Cynthia Howe Miniature.
This one more precisely.
As you can see, I've altered the kit a little bit :). I just got rid of the three little wood pieced at the bottom, didn't use the graphic provided and painted it red (Games Worskop "Gore red" mixed with some Prince August yellow and used very diluted and very lightly applied on the laser-cut carving, and a little less diluted on the other parts). The clock face is lovely, it has a clear little dome on it and a little gold metal crown on the surrounding. I painted this last part red too as it attracted too much attention :). Only thing that disturbs me a little is that the clock face has "quartz" written on it :D. Not very victorian, but less say little steampunkinsh-inspired people here have discovered quartz movement already (1927 for first quartz clock according to wikipedia, not that bad, in fact). Plus it's normally an american clock but this one says "Paris", oh well, after all, I've completely altered the kit, so let it be made in Paris, why not.
I love the musical instrument shape it has without the bottom part, it reminds me a little of a violin (ok of a cello but that's because I'm completely biased as a cello player :D).
Have a wonderful sunday ! :)

PS : thanks a lot to Brae of Otterine.com for (all of her blog and more precisely here) her great post about her banjo clock. It was super great to discover these wonderful minis :) (this particular banjo clock will be next post, I made a blue one for submarine room :) ).

Saturday, October 13, 2012

Ceramics again :)

I've posted them on Flickr but I've to share here my little collection of CNC Pottery little pieces :

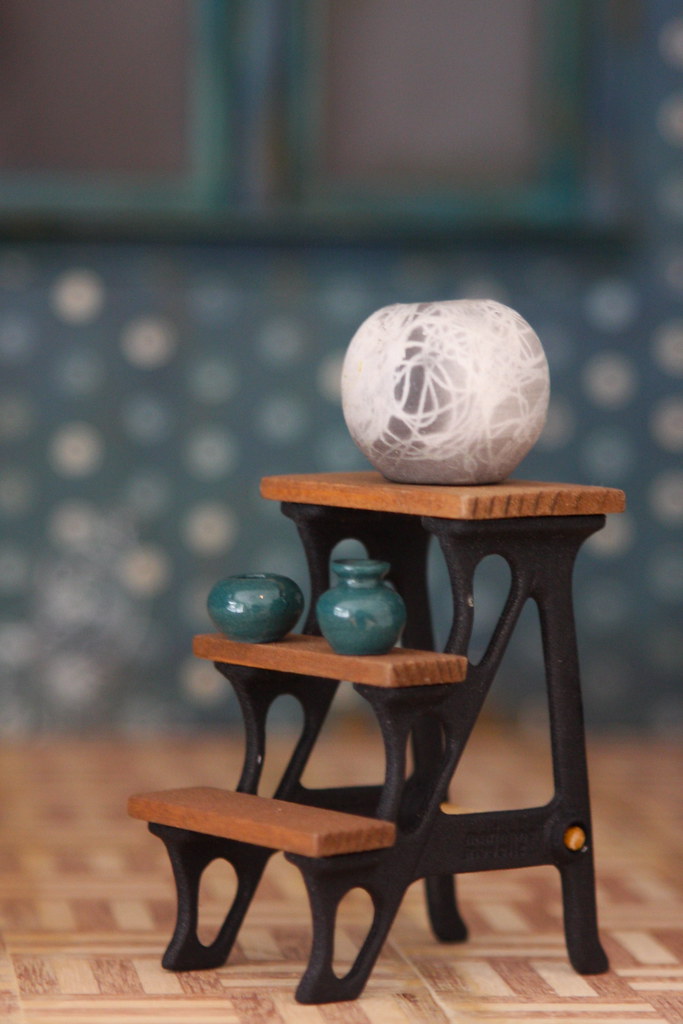
I especially adore the big saggar fired vase, it's fantastic ! There is still one in this style in the Etsy shop :). Carolyn Nygren Curran is a great artist and really an adorable woman :). As I was there at the opening of the Etsy shop and there were some glitches with the adding of France as a shipping location to the pieces and especially to one I wanted (hey how come this little beauty is still there ? ^^), I chose the little round one instead but Carolyn sent me the other little green one of this photo as a gift, so kind !

Oh, the lovely little stairs  are Bodo Hennig, they are painted metal and wood, great quality. I love them :).
Hugs to all !

A little teapot

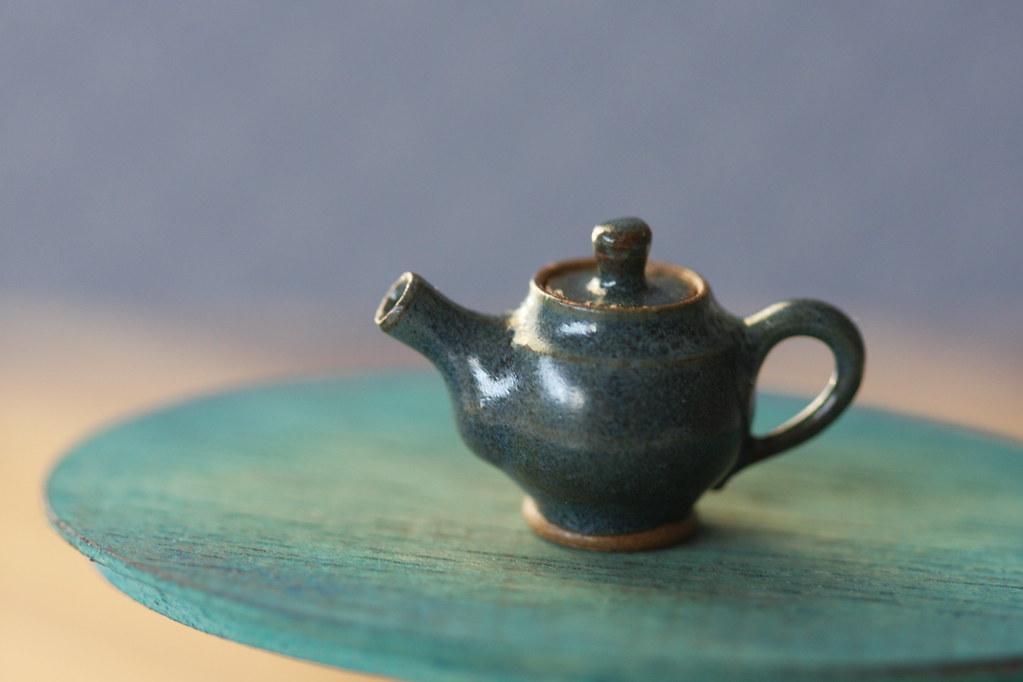
I've purchased the most adorable teapot by Jason of Dragonsgate.
It is a fully functional teapot with top removable and a big real hole (I really don't like mini teapots without hole, it seems wrong to me), I love it a lot !

Floorings quick review 2 (quicker ^^)

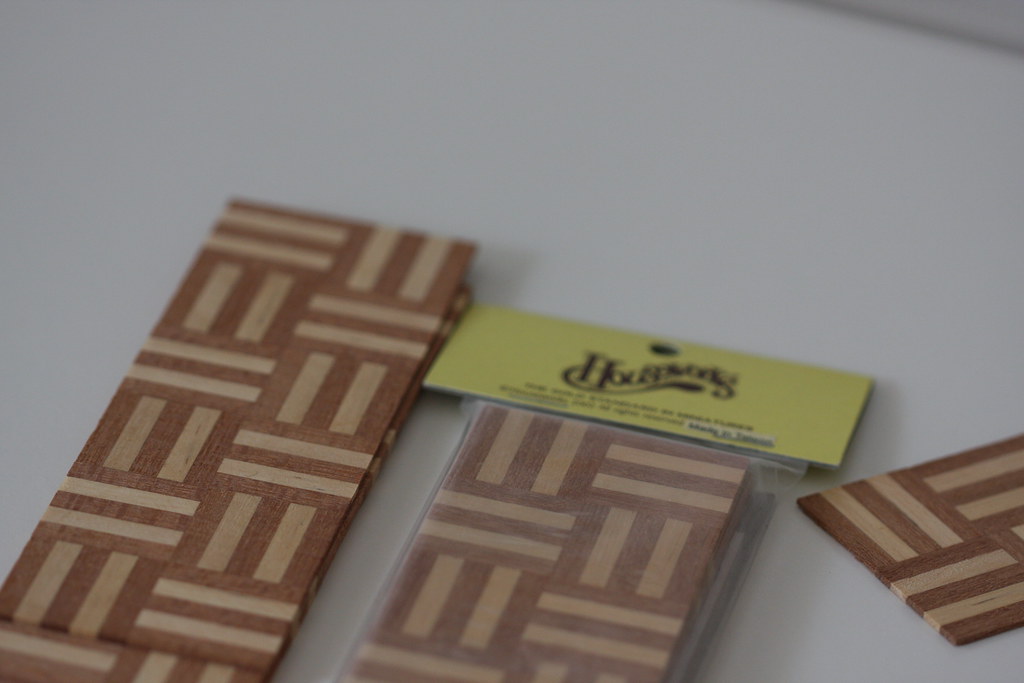
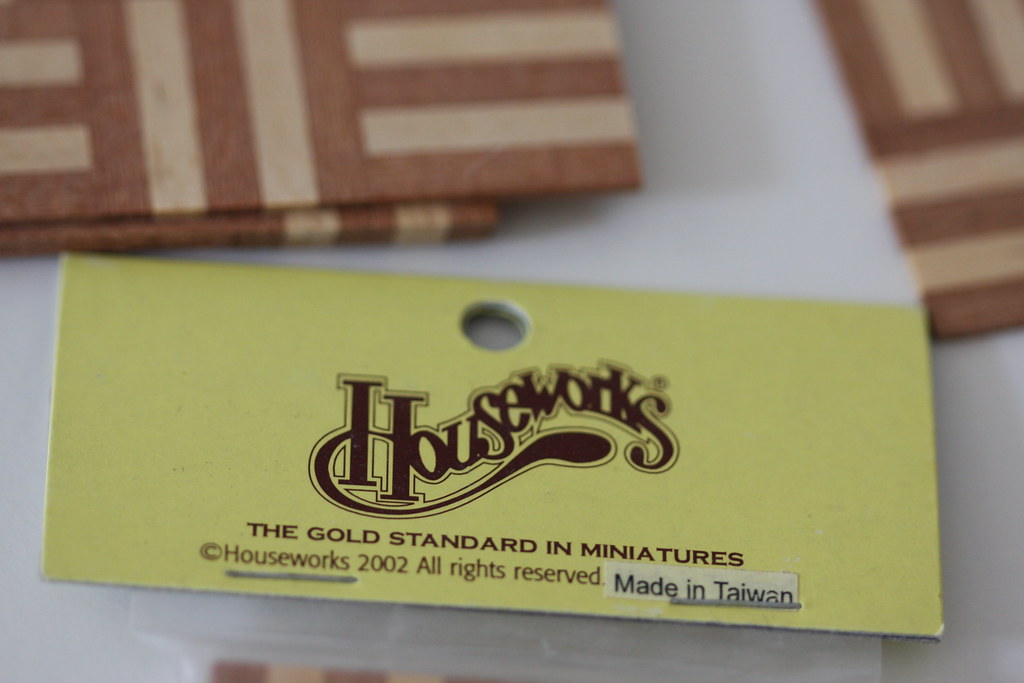
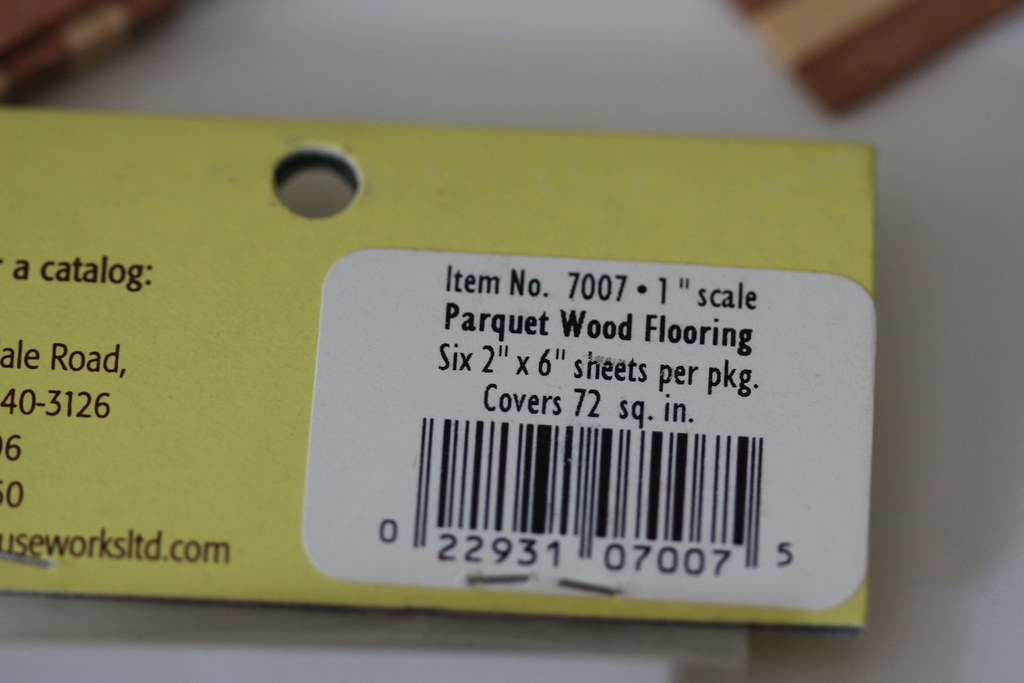
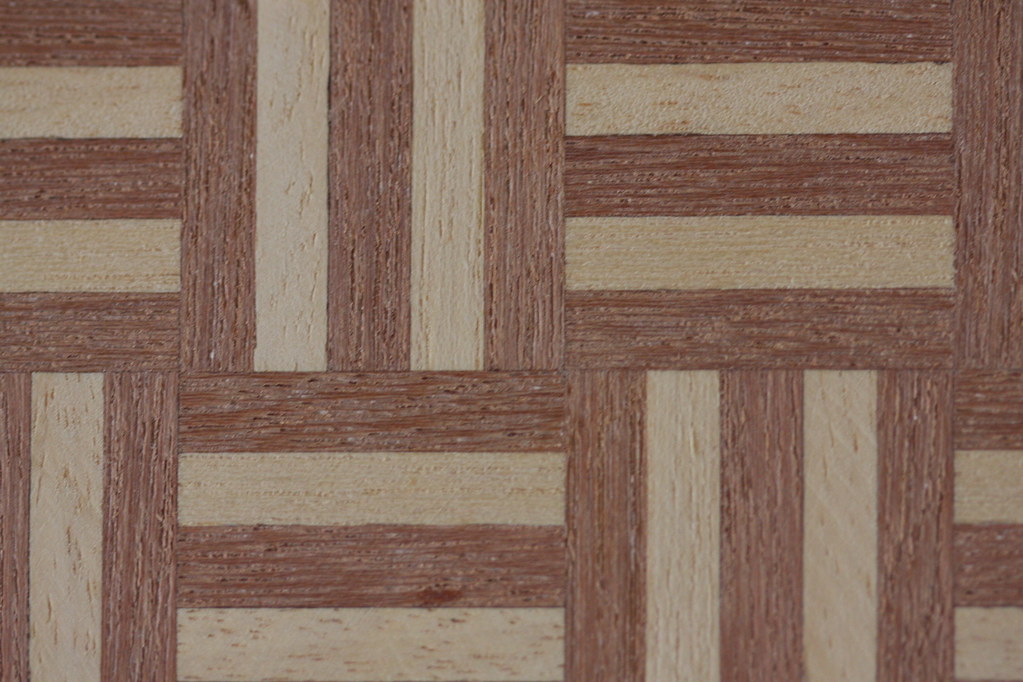
Teal room has a fancy wooden flooring by Houseworks. I completely messed up the gluing so it's not as fancy now (don't glue it directly on an Ikea bësta shelf, when it's super hot and with Cleocolle glue, even one at a time letting drie long with lots of dictionaries upon it). So I just put some pictures of the packaging, just in case it can help ^^.


Friday, October 12, 2012

Floorings quick review 1 (if that can help) :)

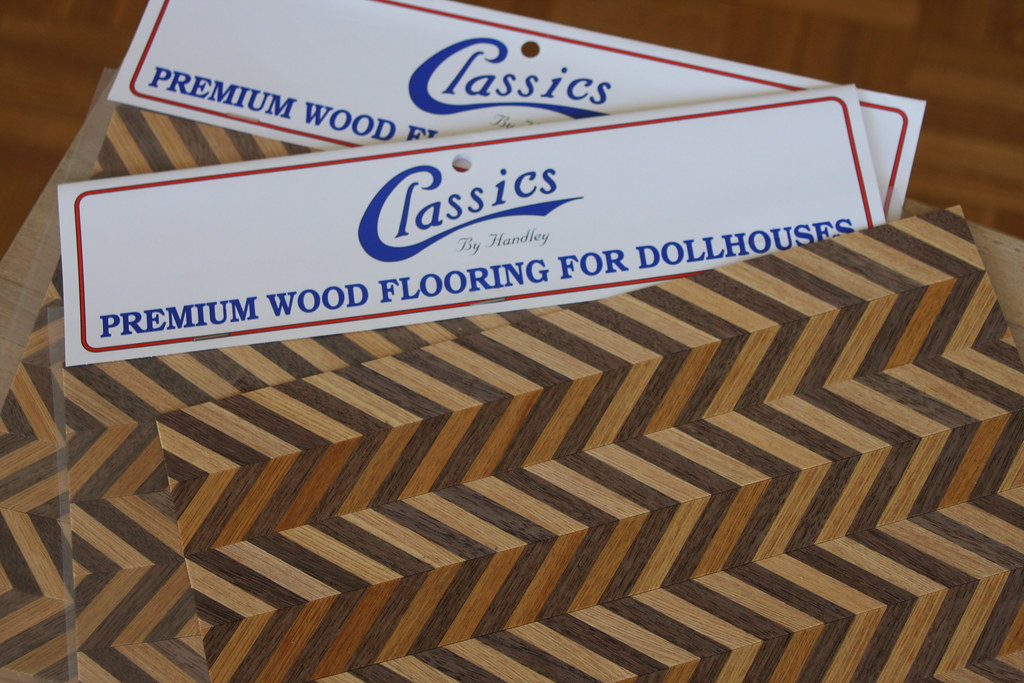
For the red room, I used chevron flooring "Premium wood flooring for dollhouses" by "Classics by Handley" (ebay seller austinnoggles). It's quite nice, even if not perfectly parrallel.

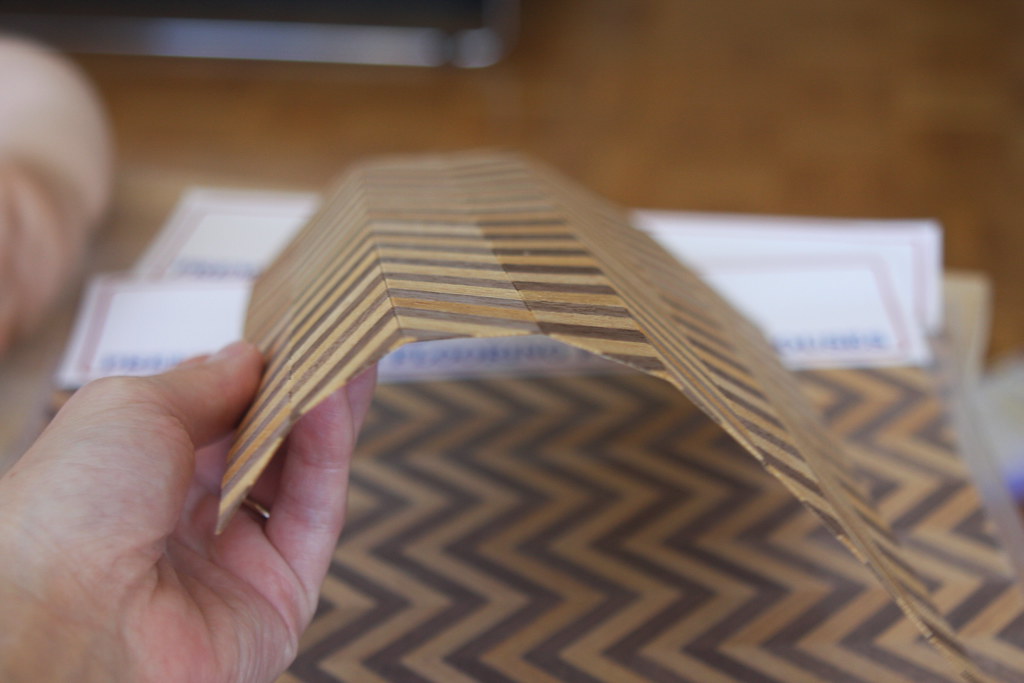
The baking does not seem to be autoadhesive to me (but I may be very dumb, I tried to peel it off slightly and it didn't work).
It makes the floor totally pliable, which might be quite convenient.


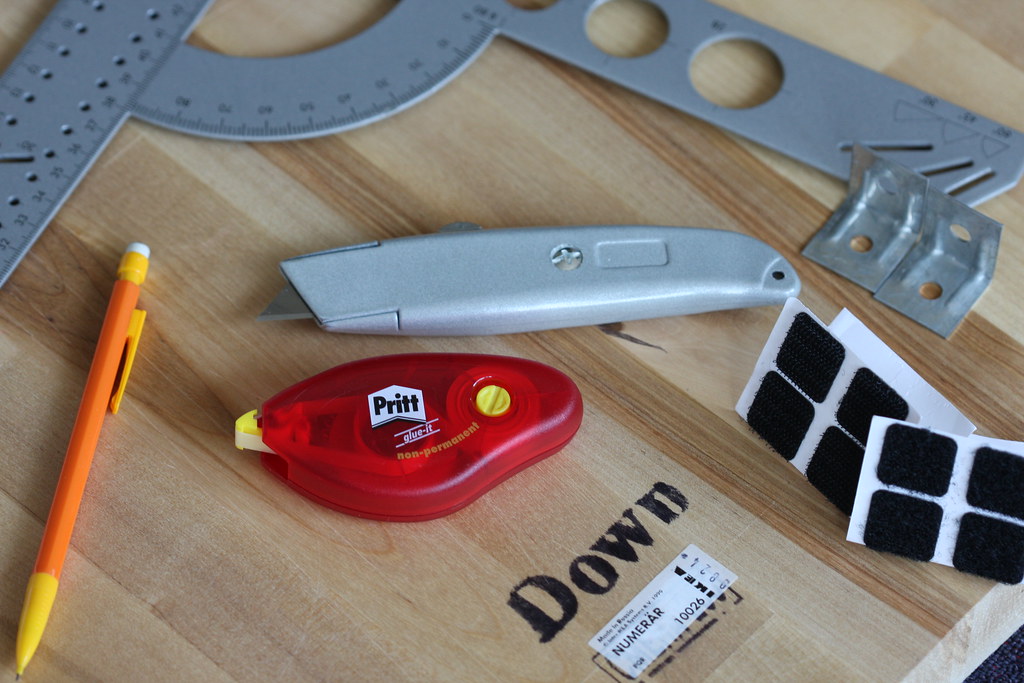
I didn't fix the flooring in my room for "real", it's just fixed in place thanks to a little Roller Prit non-permanent, it works well like that in fact. And I'm using the bare wood for now too, I like this look :).

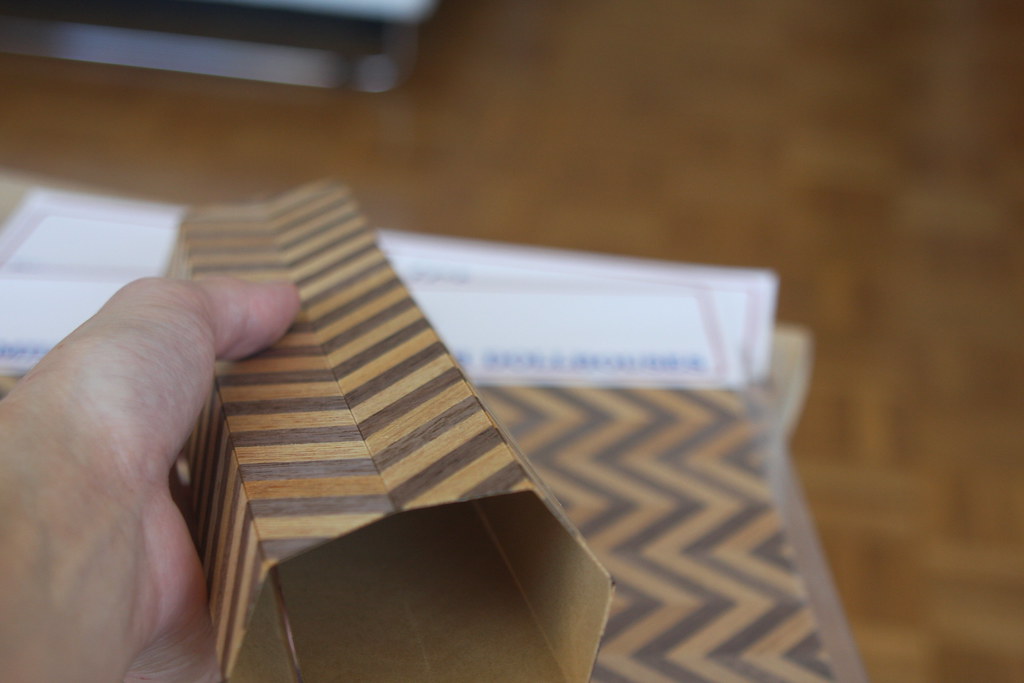
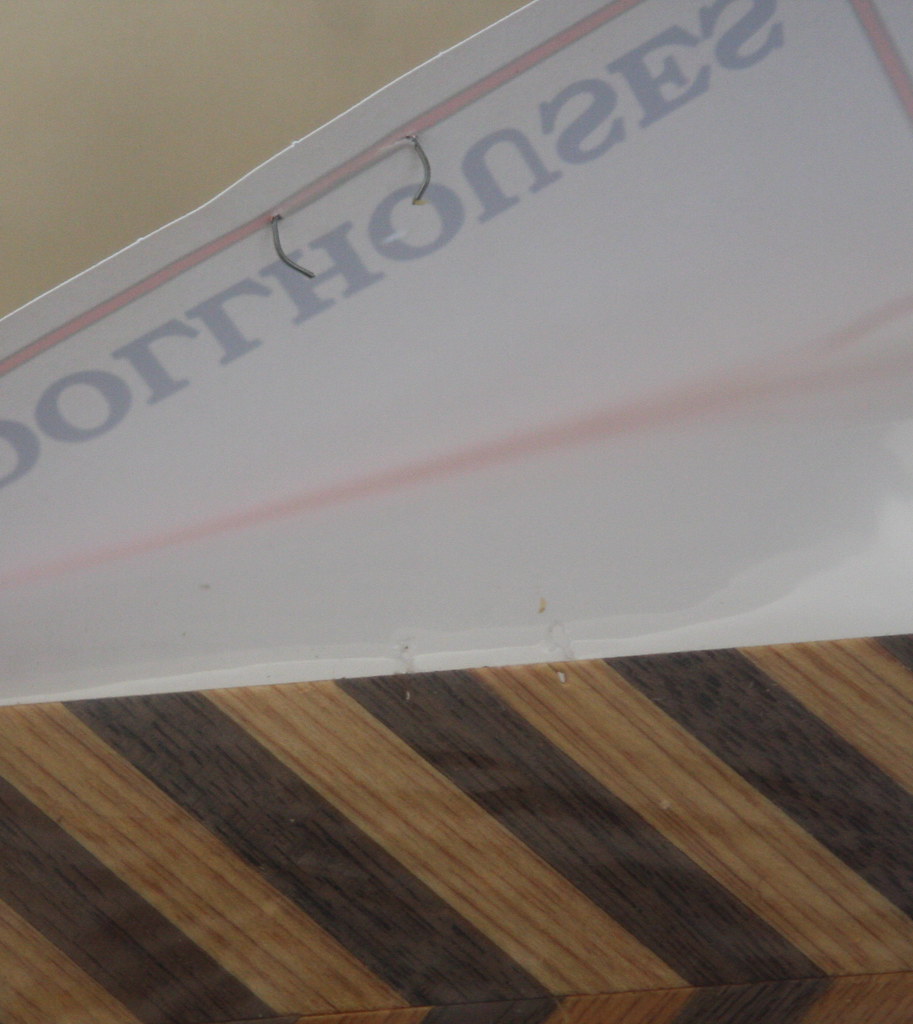
One little thing that really bothered me is that on three sheets out of four, the staples of the packaging were set inside the wood flooring itself, making holes in the wood. I guess it's easy to fix when staining but as I'm using it natural and untouched, it was a little frustrating ^^.

Wednesday, October 10, 2012

The beginnings :)

So here is a little history of the dioramas :).
It all begun with a huge plum cardboard (10mm thick) silly dollhouse (yes sorry, dolly friends, I really can't relate to it now :D, no I don't have it anymore and I'm afraid I don't regret it ^^) with white windows (Duracraft working four pane windows, in white, a whole lot of 10)  I had made and had to put down to make a baby's room.

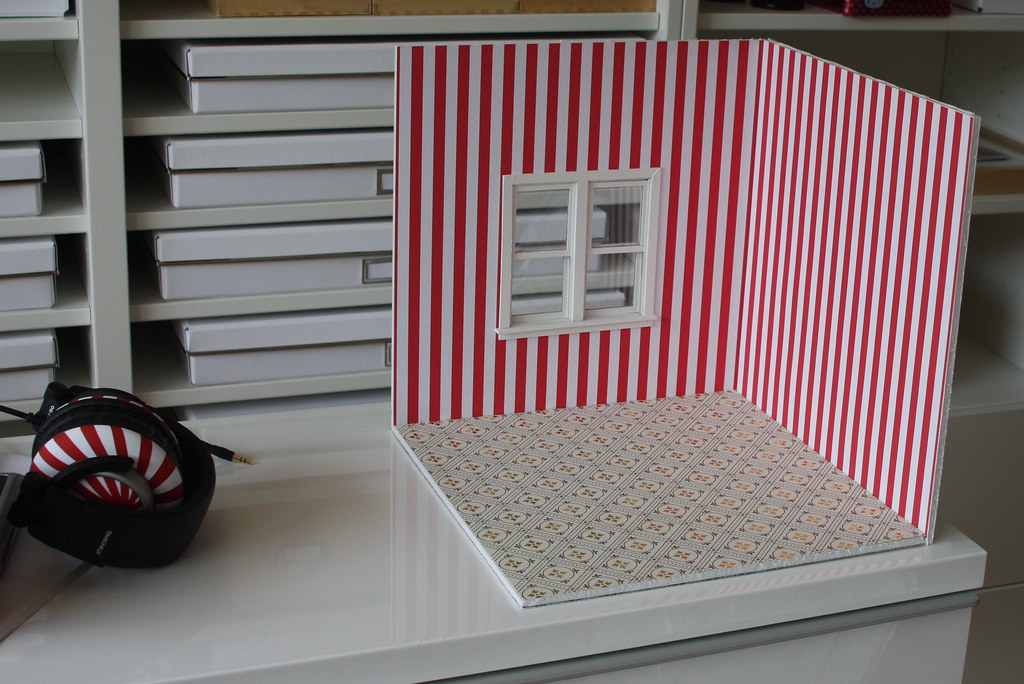
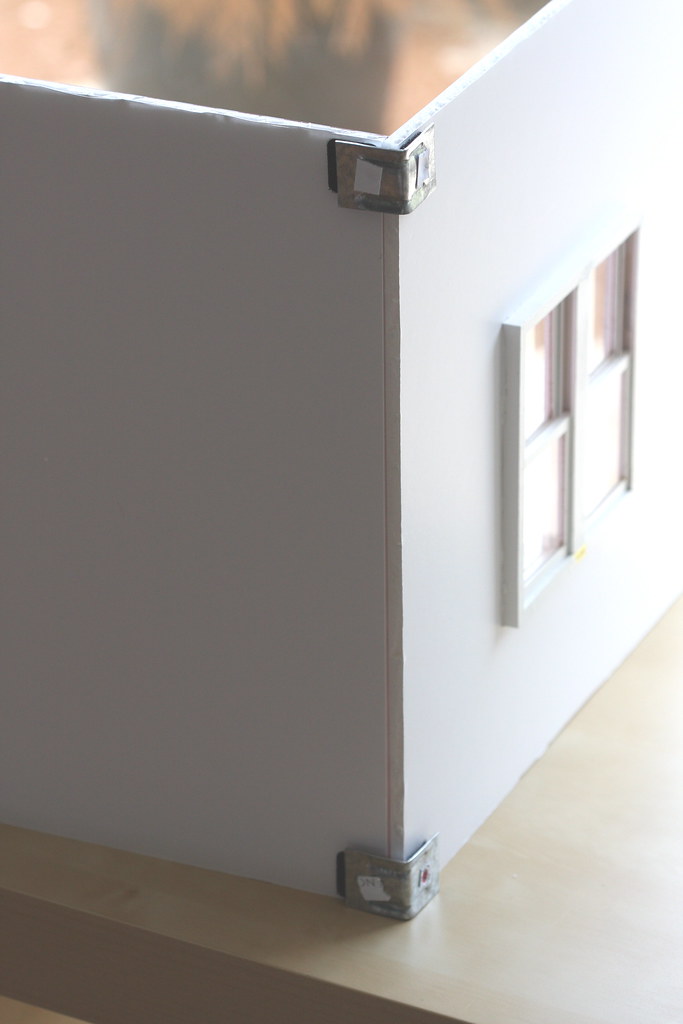
At that time, I thought I needed something easily portable and stocked and made little walls and floors with 5mm plum cardboard, some scrapbook papers, metal angles thingies and scratch, oh and the white windows. It worked well, they were stocked in the flat white Ikea boxes you can see behind the desk. I still like that method to make quick little settings.
Walls were the size of the scrapbook paper (30,5 mm) + 5mm in the bottom for both and 5 mm on one of the sheets to make the angle. Paper was fixed with Roller Pritt non permanent glue (I was planning to change paper from time to time) and window just set in place in the right size hole in the cardboard, not glued.
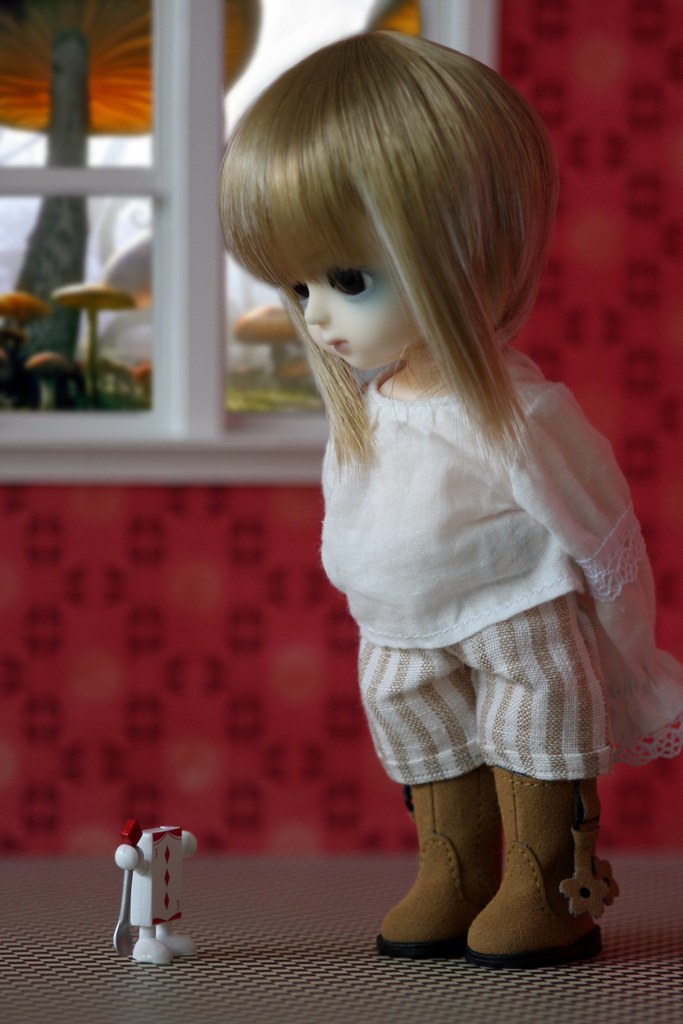
Little metals things received scratch, and the cardboard sheets too, et voilà. Floor sheet was just set in place. It works well  and I was very happy with that for a little time (mushrooms pictures on the following example pictures are from Tim Burton's Alice in Wonderland).
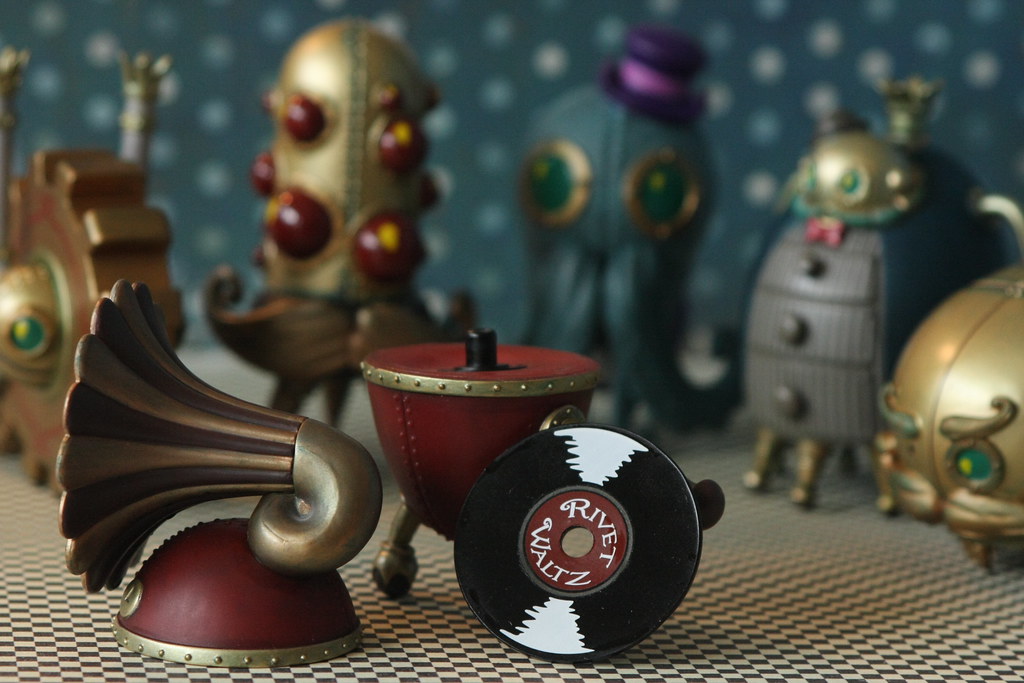
But installing and reinstalling furniture and accessories became shortly quite frustrating and I began to wish for more elaborate wall shapes too, beginning with a portholes three partioned wall (I guess inspiration came mainly from the Mechtorians little robots, these are great designer toys by Doktor A).
The portholes are made of little hobby store plastic Christmas bubbles, Using the halves without the screw side. The holes in the cardboard were very very heavily painted in black then metal, and bubbles painted the same on a 5mm band in the outside.

The white and red room gained some handmade windows (from little 10mm thick hobby wood sticks and clear packaging hard plastic). It's mainly in this state right now, minus all the re-ments and plastic thingies, and the paper has been aged a little (I have not put the walls back in place yet so no picture for the moment).
Flooring here was made with ice-creams sticks (don't try), glued on plum carboard (NEVER do that :D :D) and it's really not good :D.

Dusting the blog a little :)

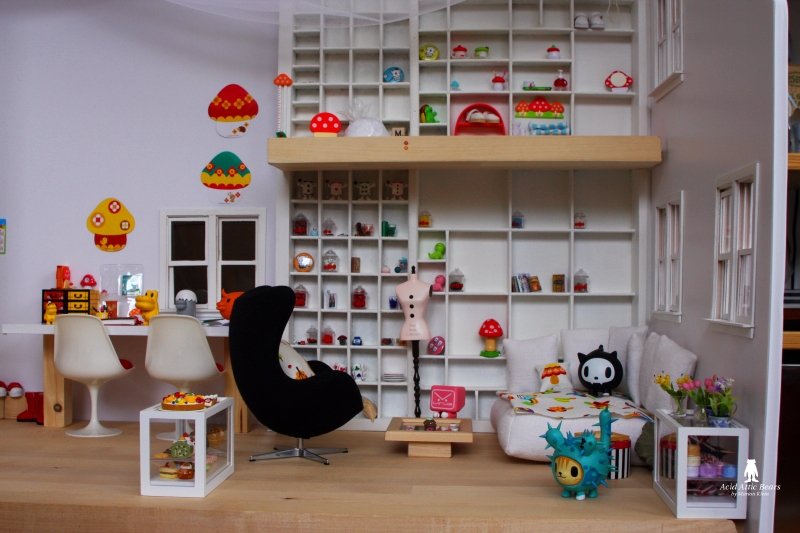
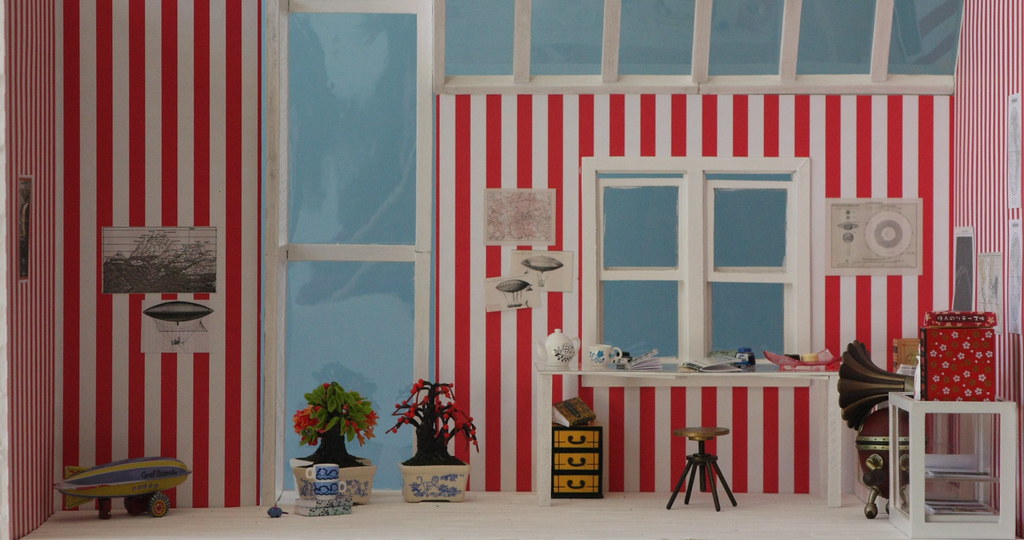
Hi ! I'm thinking of giving a new try at this blog, going more to the "and friends" part of "Acid Attic Bears and friends", and talking about what prevents me from creating teddies in my free time (yes so sorry, I can't help myself) : the creation of dioramas in 1/12e (well something between 1/12e and 1/8e) scale. Here are some little views of what I've done so far :


And I'll try to give all the info I can about what is in there and what will be :). I'm only a beginner so don't trust me for good tips :D. If you want real good dollhouse info, marvelous explanations and fantastic work and photos, best address I found is : http://www.otterine.com/

But let's give a try here anyway, with my bad english and very little experience ^^. Hugs to all ! :)

Thursday, August 02, 2012

Wooops, this blog is far from up to date for sure ! I must admit I had kinda forgotten about its existence :D. News are now available on Acid Attic Bears page on Facebook : Acid Attic Bears Hugs to all !