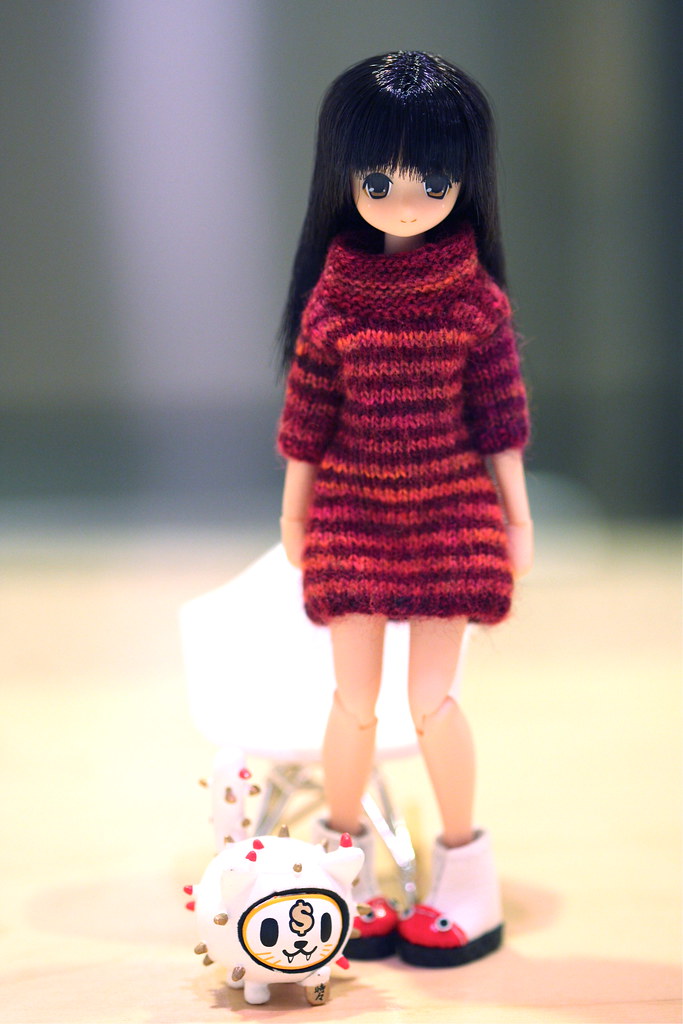
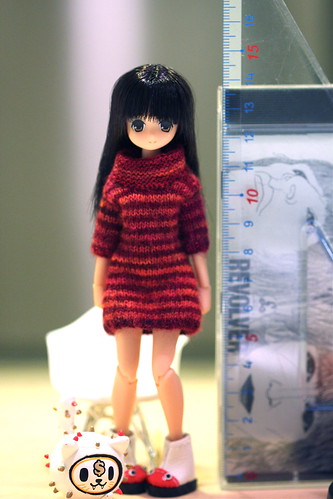
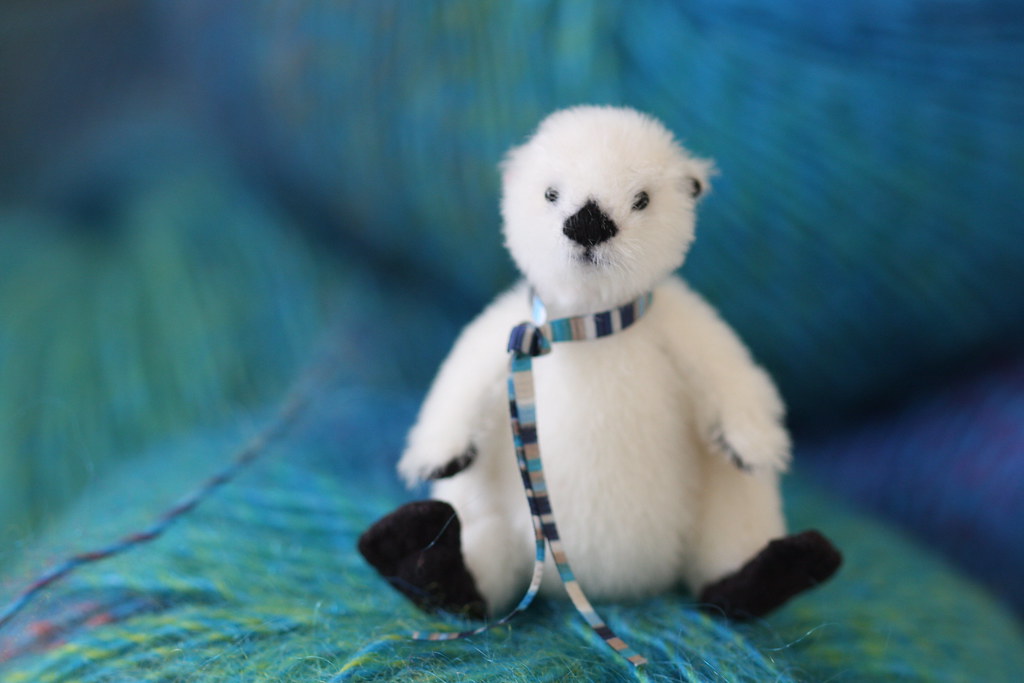
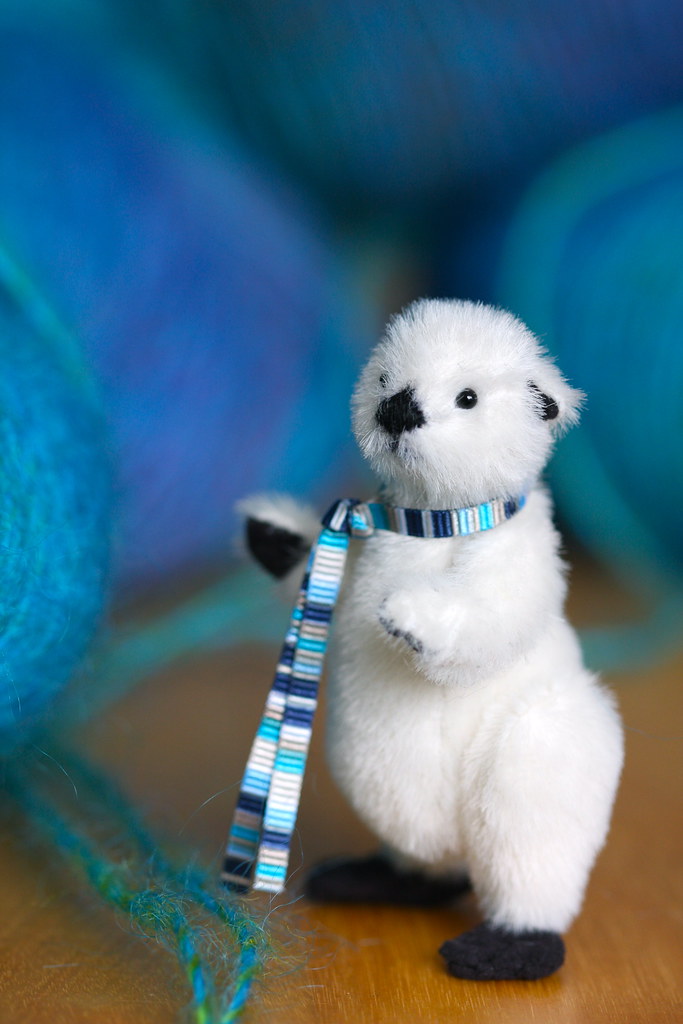
Thursday, April 10, 2014

Found !

I've finally found back my sea otter pattern !
Wow, it seems irreal as it's been so long I'm looking for it (I also found a missing eye and that kind of things, no nothing creepy...).

Bad news is that it has been so long that I don't remember anything but I had some articles partially written and I did take pictures of as much steps as I could.
Seems I'm still missing two pieces of the otter but with the pictures I can draw them back without too much difficulties now I have the other ones.
Gosh, it's small :). Seeing those tiny-teeny arms, it doesn't make me want to sew things that small right now but maybe you do ? (right now, all I want to sew is 1/3 doll clothing I must admit... And talking about 1/3 dolls, I've snatched a new limited doll -DDS Youmu- from Volks website yesterday, it's super bad but I'm happy :)...)
I'll try to get the scanner to work soon to begin the tutorials asap :).
Sorry for the indecent waiting... (will still be shockingly long, but now you are used to it...)
Hugs to all !

Thursday, April 03, 2014

Picco Neemo sweater dress directions for advanced knitters


Hi,
here are the basic directions to knit yourself the Picco Neemo 1/12 mini sweater dress.
I'm sorry I didn't take pictures while working on this as I was so unsure it would be a failure that I didn't bother documenting (doing that most of the time for new things).  I might knit the same garment again in different colors if I manage to adopt a mini Himeno when she is released and this time, I'll try making a proper tutorial.
The state of these directions are provisary, vocabulary-wise as I don't remember all the English words for the different knitting directions but I'll find this soon.
I'll try to make the directions clearer with time too (I'm really bad at this :D and I sure need to read a few patterns in English to find out what I'm missing here).
So at the moment, only advanced knitters can follow (and if not, please ask me questions), but with time, I'll try to make it more accessible for less experienced knitters (it's quite hard to knit this small though -I personnally find this quite challenging- so I don't know how relevant this would be).
Anyway, here are some directions :
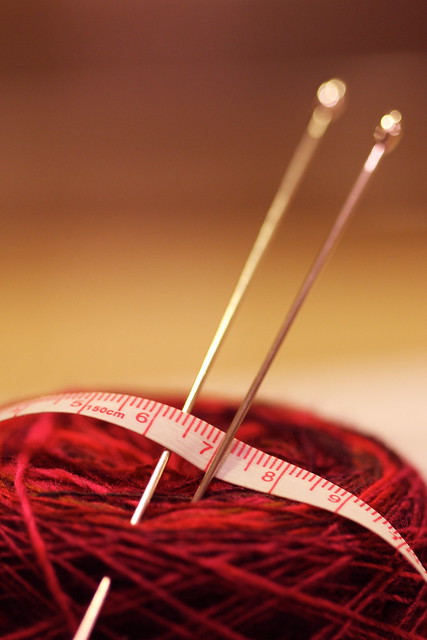
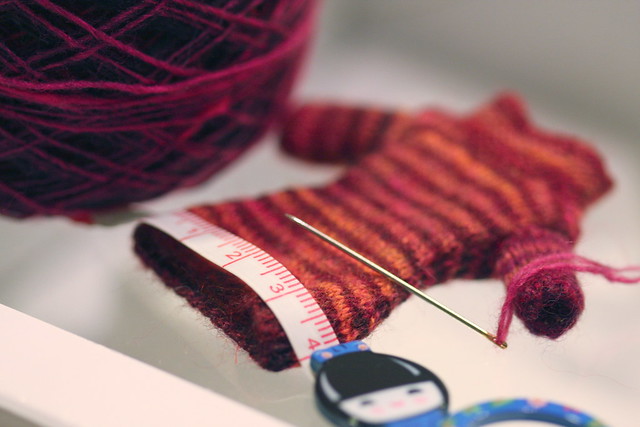
Needle size :
about 1 mm

Tension : 
6 stitches and 9 rows for 1 centimeter


Stripes :
In stockinette : alternate 2 rows of colour A and 2 rows of colour B (here, two balls of the same Noro Kirara colour)

In garter stitch : alternate 4 rows of colour A and 4 rows of colour B


Decreasing is 1 stitch from the sides, knitting two stitches at the same time.
Increasing is 1 stitch from the sides, making a loop and all blablabla (oh my, I'll try to find the proper explanations for this soon :D)

*****
Front piece :
With colour A, cast on 28 sts.
Work 2 rows in 1-1 ribs.
Here is first change of colour, then alternate as explained before.
In stockinette, work 4 rows.
Starting here (7th row), decrease 1 stitch from each side every fifth row until 23rd row = 18 stitches
Go on without shaping until 31st row.
32nd row, increase 1 stitch from each side = 20 stitches
34th row, increase 1 stitch from each side = 22 stitches
37th row, end two stitches on the right ("rabattre")
38th row, end two stitches on the left
48th row, end 6 stitches in the middle for the neck
Work one side at a time, end 1 stitch from the middle every 2 rows, 2 times until there is 4 stitches remaining.
53rd row, with same color as previous stripe, end all the stitches.

Back piece :
Same as front but for the neck, end 8 stitches at the 50th row (nothing at 48th).

Neck piece :
Don't sew on the shoulders just now (or just one). Take ("relever") the stitches from the neck opening starting at one shoulder and going to the end of the next, you will need to knit bak and forth (unless you can knit in the round so small but I did not have small enough 4 needles or circular).
Knit in garter stitches (point mousse), stripes being now 4 rows of each colors.
17th row, end all stitches loosely.

Arms :
Cast on 16 stitches.
Work 2 rows in 1-1 ribs.
Work sripes in stockinette.
13th row, end 2 stitches at each side 2 times then end the 8 remaining stitches.

Sew everything together and take care of loose ends :).


Tuesday, February 18, 2014

TADA's Revolution prints giveaway :)

Last week, we've received some TADA's Revolution marvelous goodies,  miniature bear "Flats" and  prints of his and his companions mug shots... and the 1/12 size replicas of the prints, fantastic presents of the wonderful Susan :).
As she included two sets in the package, I asked her if she was ok for a giveaway of the second set and she was :).

So, if you could have a look at TADA's Revolution films* and photos and share this little giveaway on the social media of your choice, please post a comment here (or FB or Flickr) and I'll do a little lottery with all the names :). Winner will receive these high quality mini-prints (my pictures are mostly out of focus but the prints are perfectly sharp reproductions of this picture and the following):

Here is a little photoshoot with a quick set-up to take pictures of Flats (and featuring the prints too, but I didn't have the time to make frames for them). This was made really quicker than I wanted, during my son's nap, but it was great fun to do :).


As you can see, Susan's tiny bears are really perfect 1/12 size dollhouse inhabitants (or 1/24 or 1/6 in fact, or whatever, they are just great :D). Quick shot with a Picco Neemo doll and a ruler in centimeters :

Little bears lke Flats are released in limited quantities so stay tuned by clicking "Like" on TR's FB Page or follow TR's Flickr and be the first to know.  As, for those who would like to own a little piece of the Revolution, from time to time, some little creatures like Flats will pop-up quickly, and lovely little pieces of furniture might make short appearance to on  TADA's Revolution Etsy Shop but high quality prints of all Susan's photos are available at all time, which is a relief, isn't it ? (I was so happy to receive my prints !)


* Susan makes the most amazing stop motion films featuring her creations :
TADA's Revolution Youtube
And here is TADA's Revolution Facebook.

Picco Neemo

Hi,
I know it has been a terribly long time since the latest update and that I still owe you a mini Sea Otter plushie tutorial. The truth is I've not found the teenie-tiny plastic envelop in which is supposed to be the pattern since I've home moved, which is driving me crazy.
I'll eventually find it, but in the meanwhile, I promise other tutorials and patterns.
If there are knitters reading me, I've just finished a woolen dress in 1/12 scale for my new little doll, and I'm happy to share the pattern with you, I just realize I have to calculate the gauge and take a picture of my needles as I have no idea which size they are (which would help...).
But first, here is a little about the Azone Picco Neemo doll :).

This girl is an Azone Picco Neemo Snotty Cat Koron (and her Tokidoki cactus friend who, as the cat he is, had to be on the picture). These little dolls are dollhouse scale (the following ruler is in centimeters) :
fully articulated (starting this point, pictures are copyright of Azone International and are not mine any more) :
and with changeable hands :
which make them true little gems if you like anime style, which I really do :).
And, they also have a forever-extending available 1/12 wardrobe that could be of use by itself too :


(oops the right page of second image is about 1/6 scale outfits).
Being a doll lover, I'm really hooked :).
You can pre-order the new releases through shops like Hobby Search, but I've found mine at a decent price on Amazon.com (prices increase very quickly after the pre-order period). I've read on the Majokko Shop blog that Tasina is a good shop for the little outfits.

Hope to update very soon with directions for the tiny sweater, it's fun to knit :).
Take care !

Friday, March 22, 2013

Mini sea otter, close to completion :)

So here is the little one. I'm still debating whether I'm adding acrylic paint shadings (and lights on the black parts) to him or if I leave him as is. So well, let's ask to Brae :).
The little one has no tail to allow him to sit easily (like a classic teddy bear) and can stand steadily on its own. 
I'm not 100% happy with some of the finishing (first time working that small for me) but overall I think it is quite cute :). I hope it pleases you :).

Saturday, November 17, 2012

Fabulously Small splendid giveaway

Well, we are not back into business yet but I did take some time on the computer to check a little on the mini blogs and :

"Handmade-by-Fabulously-Small-combo" fantastic giveaway
Just wow. This would look so great in the striped study (on a brick wall, I forgot to mention I was attempting to brick the study a little before I began the work on the sea otter, I'm still unsure if I'm going on with it, but this picture inspires me to go further and use my +1000 handmade little paper bricks -hey, I've even taken pictures this time ;), the thing is that I've realised that as much as I didn't mind cutting out the bricks, I really dislike gluing them ^^', well we'll see :D... ).

Oh, it's here to enter the giveaway !


Hugs to all !
Marion

Friday, November 09, 2012

Biiig sea otter and future lights

It's big :

And very unfinished of course. Don't mind the body shape, there is a pin in the back that makes everything look weird ^^. It's really really big. As a sea otter is a rather big animal and I wanted to be able to make much details, I was going for big Steiff size (70 cm, my dream antic teddy is this size, if I had room, money and was not afraid of awful-hundred-years-old thingie that can be in the stuffing, I'd own it :D), but it's actually bigger.
But you can see my new darling Bespaq, by the way ^^.
Ok, after having changed the neck joint, now the arms are being stubborn (ok, I'm being stupid :D) so little break today :D.
I've been looking for lights for the rooms and I'm about to pass my order (I'm just trying to figure what I need exactly to make this work ^^).
I'm going with these, which I'll paint red, for the red room :
There will be one more on top of the Bespaq chair, as there is not really room next to the big bed head, so the oldest girl will read in her chair instead of in her bed (well why not).

And these for the striped study (no decent photomanip to show, but they will be upward) and the teal room :
You can see that I've tried the seattee and the other chair of the Bespaq set in the teal room and... well, they are staying here I think :). I'll have to put greenish and brownish pictures on the walls to recall the colors of the chairs and balance the teal and it should work :).
(oh, the coffee table is not a real one, it's a poor Mechtorian laying on the floor pretending he is a coffee table to help, how cruel of me)

Thanks so much Brae to have taught me the lamps could be used upside down, I just never had thought about it and this works really better for me ! :)

**********

Saturday update : little otter's arms are working good now :).
Second Saturday update : I think I've got the feet right, hey, we are getting somewhere ^^.

Wednesday, November 07, 2012

Mini sea otter : progresses so far

I think I need to create it completely before giving you the step by step explanations as it will need some twicking around.
But it won't be long to come :).
Besides, this little one is way bigger than I thought, so I'll try to make a smaller version (less jointed), as this one will be as big as a little child in 1/12 scale I'm afraid. So pretty much a doll, more than a toy for a doll. We'll see :).
I might remain silent while finishing up this little creature but I'll try to make dayly posts with the explanations as soon as it is completed :).